Ge Adora Refrigerator Manual: A Comprehensive Guide (Updated 05/04/2026)
Welcome! This manual assists with your Ge Adora refrigerator, offering detailed instructions for operation, maintenance, and troubleshooting, as of today’s date.
Congratulations on selecting a Ge Adora refrigerator! This appliance represents a commitment to quality and innovation in food preservation. This manual serves as your primary resource for understanding and maximizing the benefits of your new refrigerator.
The Ge Adora series is designed with advanced features to ensure optimal performance, energy efficiency, and convenience. Whether you’ve chosen a top-freezer, bottom-freezer, side-by-side, or French door model, this guide will provide specific instructions tailored to your unit.
Before operating your refrigerator, please take the time to thoroughly read this manual. Familiarizing yourself with its features and safety precautions will contribute to years of reliable service and satisfaction. We are confident your Ge Adora will become an integral part of your kitchen.
Understanding Your Model Number & Serial Number
Locating these numbers is crucial for accurate service and support. Your Ge Adora refrigerator’s model and serial number are typically found on a label inside the refrigerator compartment. Often, this label is on the left-side wall, or near the crisper drawers.
The model number identifies the specific features and specifications of your refrigerator. The serial number is a unique identifier for your individual unit, essential for warranty claims and parts ordering.
Please record both numbers in a safe place for future reference. When contacting customer support or ordering replacement parts, having these numbers readily available will expedite the process and ensure you receive the correct assistance.
Safety Precautions & Warnings
Important safety instructions are vital for preventing injury and ensuring proper operation. Always unplug the refrigerator before cleaning or performing maintenance. Never use flammable sprays or solvents near the appliance, as they pose a fire hazard.
Do not attempt to repair the refrigerator yourself; contact a qualified technician for service. Ensure the power cord is not damaged and is properly grounded. Keep the ventilation openings clear of obstructions to prevent overheating.
Caution: Improper use can result in electric shock or other hazards. Supervise children around the appliance and do not allow them to play with its controls. Dispose of the refrigerator responsibly, following local regulations.
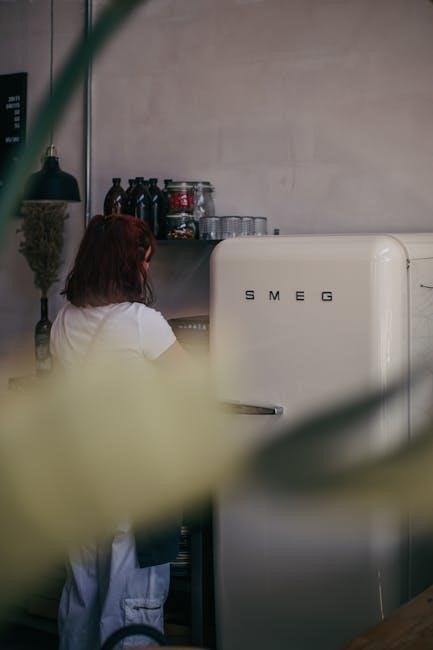
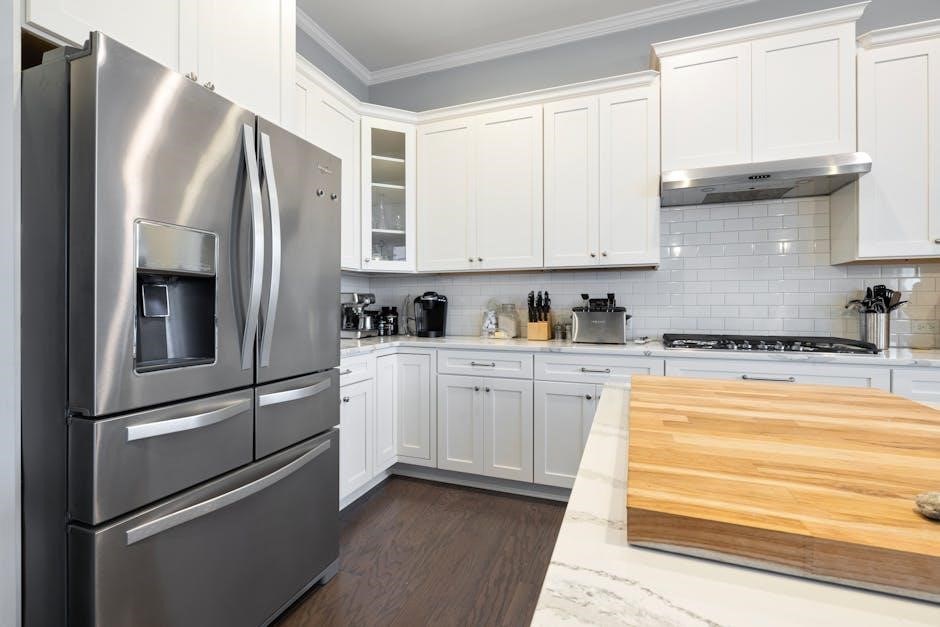
Refrigerator Features Overview
Your Ge Adora refrigerator boasts a range of features designed for optimal food preservation and convenience. Enjoy spacious interior shelving, adjustable door bins, and crisper drawers to maximize storage. Many models include advanced temperature management systems, ensuring consistent cooling throughout.
Select Adora refrigerators feature a convenient ice and water dispenser, providing chilled refreshments on demand. The spill-proof shelves contain accidental messes, simplifying cleanup. An internal LED lighting system illuminates the interior, making it easy to locate items.
Explore features like quick cool and quick freeze options for rapid temperature adjustments.
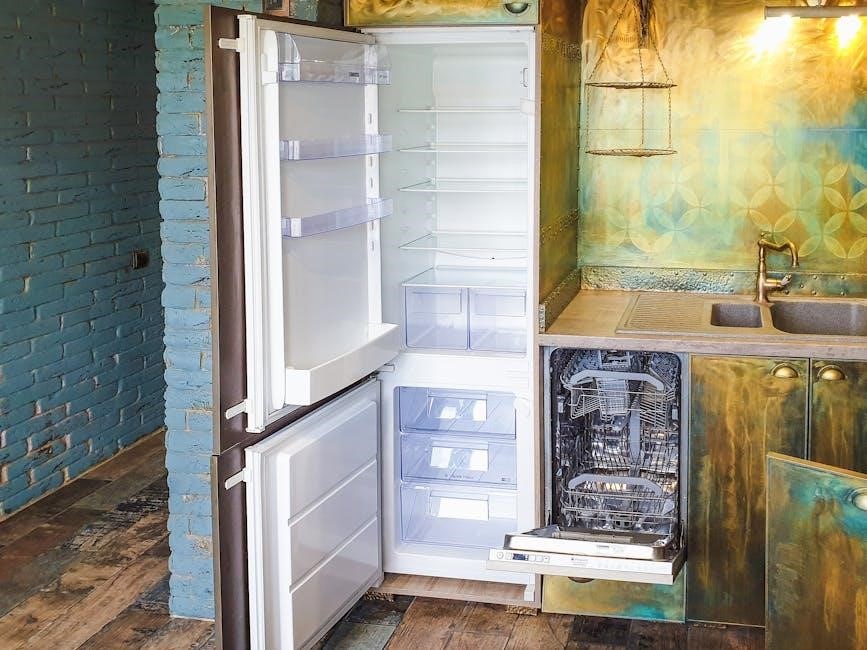
Internal Components & Their Functions
Shelves: Adjustable shelves offer flexible storage configurations for items of varying sizes. Crisper Drawers: These humidity-controlled drawers extend the life of fruits and vegetables. Door Bins: Utilize door bins for frequently accessed items like condiments and beverages.
Deli Drawer: A dedicated drawer maintains optimal temperature for meats and cheeses. Ice Maker (if equipped): Automatically produces ice, refilling as needed. Water Filter: Ensures clean, fresh-tasting water from the dispenser.
LED Lighting: Provides bright, energy-efficient illumination. Air Filter: Circulates fresh air, reducing odors. Understanding these components maximizes your refrigerator’s efficiency.
External Controls & Display Panel
Digital Display: Shows current refrigerator and freezer temperatures, along with selected settings. Temperature Controls: Adjust temperature settings for both compartments using intuitive buttons or a dial. Dispenser Controls: Activate the ice and water dispenser with dedicated buttons – options may include crushed, cubed, or filtered water.
Mode Settings: Explore features like ‘Energy Saver’ or ‘Quick Cool’ for optimized performance. Lock Function: Secure the control panel to prevent accidental changes. Diagnostic Indicators: Alerts you to potential issues with error codes.
Familiarize yourself with these controls for seamless operation and personalized settings.
Installation & Setup
Unpacking & Inspection: Carefully unpack your Ge Adora refrigerator and inspect for any shipping damage. Report any issues immediately to the retailer. Location Selection: Choose a level floor, away from direct sunlight and heat sources, ensuring adequate ventilation around the unit.
Door Adjustment: Verify proper door alignment and adjust hinges if necessary for a tight seal. Cleaning: Wipe down interior surfaces with a mild detergent and water before use. Initial Cool-Down: Allow the refrigerator to run empty for several hours to reach optimal operating temperature before stocking with food.
Initial Setup & Power Connection
Power Requirements: Ensure your outlet matches the refrigerator’s voltage specifications (typically 115V/60Hz). Dedicated Circuit: It’s recommended to use a dedicated circuit to prevent overloading. Grounding: The appliance must be properly grounded for safety.
Powering On: Plug the refrigerator into the outlet. The control panel should illuminate. Initial Temperature Setting: Set the desired temperature using the control panel – a moderate setting is recommended initially. Stabilization Period: Allow 24 hours for the refrigerator to reach its set temperature before adding food. Avoid frequent door openings during this period.
Water Line Connection (if applicable)
Water Supply: Connect to a cold water supply line with a minimum of 30 PSI. Water Filter: Install the provided water filter before connecting the line – this protects the ice maker and dispenser. Connection Kit: Use the supplied connection kit and follow the detailed instructions included.
Leak Check: After connection, carefully check for leaks at all fittings. Flushing the Line: Flush the water line for several minutes to remove air and debris. Water Filter Replacement: Note the recommended filter replacement schedule (typically every 6 months) for optimal water quality and performance.
Operating Instructions
Initial Operation: Allow 24 hours for the refrigerator to reach optimal temperature after initial power-up. Temperature Adjustment: Use the control panel to set desired temperatures for both the refrigerator and freezer compartments. Recommended settings are typically 37°F (3°C) for the refrigerator and 0°F (-18°C) for the freezer.
Door Alarms: The refrigerator features a door alarm to alert you if a door is left open for an extended period. Dispenser Lock: Utilize the dispenser lock feature to prevent accidental ice or water dispensing. Familiarize yourself with all control panel functions for efficient operation.
Temperature Control Settings
Adjusting Temperatures: Your Ge Adora refrigerator utilizes a digital control panel for precise temperature management. Press the “Refrigerator” or “Freezer” buttons to access individual temperature settings. Incremental adjustments are made with the up and down arrow keys.
Recommended Settings: For optimal food preservation, maintain a refrigerator temperature of 37°F (3°C) and a freezer temperature of 0°F (-18°C). Quick Cool/Freeze: Activate these features for rapidly cooling new groceries or freezing items quickly, then return to normal settings. Monitor temperatures regularly.
Using the Ice & Water Dispenser
Dispensing Water: Press a glass against the water dispenser paddle to activate the flow. Hold for the desired amount, releasing to stop. Ensure your water filter is properly installed for optimal taste and purity. Ice Types: Select between cubed or crushed ice using the designated setting on the dispenser panel.
Ice & Water Lock: To prevent accidental dispensing, utilize the “Lock” function. This disables both ice and water functions. Troubleshooting: If dispensing is slow, check the water line for kinks or freezing. Regularly clean the dispenser nozzle.
Maintenance & Cleaning
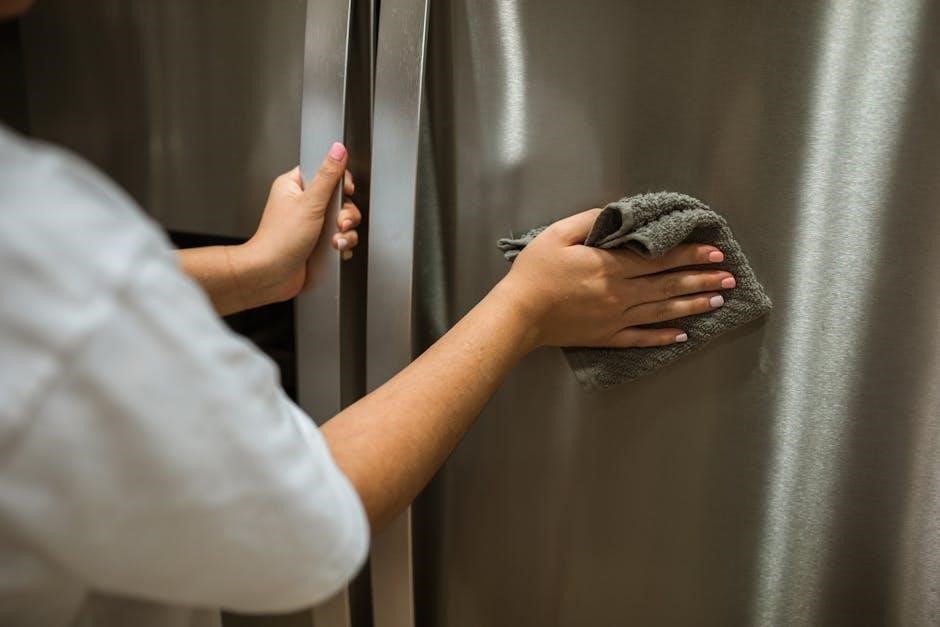
Regular upkeep ensures optimal performance and longevity of your Ge Adora refrigerator. Interior Cleaning: Unplug the refrigerator before cleaning. Use a mild detergent and warm water solution to wipe down shelves, drawers, and walls. Avoid abrasive cleaners. Exterior Cleaning: Clean the exterior with a damp cloth and stainless steel cleaner (if applicable).
Condenser Coils: Periodically vacuum the condenser coils (usually located at the back or bottom) to improve efficiency. Spill Cleanup: Immediately wipe up any spills to prevent staining and odors. Consistent cleaning maintains hygiene and prevents malfunctions.
Regular Cleaning Procedures
Weekly tasks include wiping up spills immediately with a soft cloth and warm, soapy water. Monthly cleaning involves removing all shelves and drawers, washing them with mild detergent, and rinsing thoroughly. Don’t forget to clean the door gaskets to maintain a tight seal!
Exterior surfaces should be wiped down with a stainless steel cleaner (if applicable) to prevent fingerprints and smudges. Interior walls benefit from a wipe-down with a baking soda and water solution to neutralize odors. Consistent cleaning prevents buildup and ensures optimal refrigerator performance.
Air Filter Replacement
Maintaining fresh air within your Ge Adora refrigerator is crucial; replace the air filter every six months, or as indicated by the filter indicator light. Locate the air filter – typically found in the upper-right corner of the refrigerator compartment.
Remove the old filter by twisting it counterclockwise and gently pulling it out. Insert the new filter, aligning the arrows and twisting clockwise to secure it. A properly functioning air filter minimizes odors and keeps your food fresher for longer. Replacement filters can be ordered online or from authorized GE parts retailers.
Defrosting (if not frost-free)
If your Ge Adora model isn’t frost-free, manual defrosting is occasionally necessary to prevent excessive ice buildup. Begin by emptying the freezer compartment completely, removing all food items. Disconnect the refrigerator from the power source to ensure safety during the process.
Place towels around the freezer to absorb melting water. Allow the ice to melt naturally – do not use sharp objects to scrape it off, as this can damage the freezer walls. Once defrosted, thoroughly clean and dry the interior before reconnecting the power and returning food items.
Troubleshooting Common Issues

Encountering problems with your Ge Adora refrigerator? This section addresses frequent concerns. If the refrigerator isn’t cooling, check the power supply, temperature settings, and door seals. For ice maker issues, ensure the water line is connected and not frozen, and the ice maker is switched on.
Water dispenser problems often relate to a clogged water filter or a frozen water line – replace the filter and check for obstructions. If issues persist, consult the detailed troubleshooting guide within this manual or contact Ge customer support for assistance.
Refrigerator Not Cooling
If your Ge Adora refrigerator isn’t cooling effectively, begin by verifying the power cord is securely plugged into a functioning outlet. Next, check the temperature controls; ensure they aren’t set too high or accidentally switched to ‘demo’ mode. Inspect the door seals for any gaps or damage, as compromised seals allow warm air to enter.
A clogged condenser coil can also restrict airflow – clean it regularly. Confirm the evaporator fan is running smoothly inside the freezer. If these steps don’t resolve the issue, a professional technician may be needed to diagnose potential compressor or refrigerant problems.
Ice Maker Problems
Experiencing issues with your Ge Adora’s ice maker? First, ensure the ice maker is switched ‘on’ – often a simple toggle within the freezer. Verify the water supply line is correctly connected and the water supply valve is fully open. Check for any kinks or blockages in the water line itself.
If ice production is slow, the water filter might be clogged and require replacement. A frozen water line can also halt production; try gently thawing it. If the ice maker is making small or oddly shaped ice, consult a qualified technician for potential internal component issues.
Water Dispenser Issues
Encountering problems with your Ge Adora’s water dispenser? Begin by confirming the water supply is connected and the shut-off valve is fully open. Low water pressure can significantly impact dispenser performance; check your home’s water pressure. A clogged water filter is a common culprit – replace it every six months, or as needed.
If the dispenser is dripping, inspect the dispenser nozzle for any debris or damage. Slow water flow could indicate a frozen water line; carefully thaw it if accessible. For complete water dispenser failure, verify the internal water tank isn’t empty and consult a service professional.
Parts Diagram & Replacement
Need to replace a component in your Ge Adora refrigerator? Accessing a detailed parts diagram is crucial for identifying the correct replacement. These diagrams, often available online through the GE Appliances website or appliance parts retailers, illustrate exploded views of the refrigerator’s internal and external components.
When ordering replacements, always have your model number readily available to ensure compatibility. Common parts requiring replacement include water filters, light bulbs, shelves, crisper drawers, and door bins. Authorized GE parts are recommended for optimal performance and warranty validity. Always disconnect power before attempting any repairs.
Locating Replacement Parts
Finding the right parts for your Ge Adora refrigerator is straightforward. Begin with the official GE Appliances website; their parts store allows searches by model number. Alternatively, numerous online appliance parts retailers specialize in GE components, offering competitive pricing and broad inventories.
Local appliance repair shops often stock common replacement parts and can provide expert advice. When searching, always verify compatibility with your specific model number. Keep your manual handy – it may contain a parts list with corresponding part numbers. Beware of generic parts; genuine GE replacements generally ensure optimal performance and longevity.
Common Replacement Parts List
Frequently replaced components for the Ge Adora refrigerator include water filters (typically replaced every six months), air filters (recommended annually), and door bins. Ice maker components, such as the water inlet valve and ice maker module, often require replacement due to wear and tear;
Defrost heaters and defrost thermostats are common failures in older models. Door seals (gaskets) deteriorate over time, leading to temperature inconsistencies. Light bulbs burn out and are easily replaced. Shelves and crisper drawers can crack or break and are readily available. Always use the correct part number for a perfect fit and optimal function.
Warranty Information & Customer Support
Your Ge Adora refrigerator is covered by a one-year limited warranty against manufacturing defects. This warranty covers parts and labor for repairs performed by authorized service technicians. The sealed refrigeration system is covered for five years regarding parts and a limited lifetime warranty on the compressor.
For warranty claims or customer support, please visit the GE Appliances website or call their dedicated helpline. Online resources include FAQs, troubleshooting guides, and parts diagrams. GE Appliances is committed to providing excellent customer service and ensuring your satisfaction with your appliance. Keep your purchase receipt for warranty verification.
Be First to Comment