
This user manual serves as a comprehensive guide for your Craftsman radial arm saw. It provides essential information regarding setup, operation, maintenance, and safety precautions. Consult this manual to maximize your saw’s potential while ensuring safe and accurate woodworking practices.
Identifying Your Model and Serial Number
Locating your Craftsman radial arm saw’s model and serial number is crucial for accessing specific information, ordering replacement parts, and obtaining warranty service. The model and serial number are typically found on a nameplate attached to the saw’s base or arm. This plate contains vital details about your particular saw model.
Carefully examine the saw’s surfaces, especially the base, column, and radial arm, to find the affixed nameplate. Once located, record both the model number and serial number accurately. This information will be necessary when contacting customer support, searching for compatible accessories, or referencing detailed diagrams and parts lists.
The model number will typically follow a format like “113.XXXXX” or “315.XXXXXX.” The serial number is a unique identifier for your specific saw. Having these numbers readily available streamlines the process of finding relevant documentation or seeking assistance with your Craftsman radial arm saw. Always keep this information in a safe place for future reference, as it is essential for maintaining and servicing your tool effectively. Proper identification will ensure you receive accurate support and compatible components throughout the lifespan of your saw.
Warranty Information
Your Craftsman radial arm saw is likely covered by a manufacturer’s warranty, offering protection against defects in materials and workmanship. The specific terms and duration of the warranty can vary depending on the model and the date of purchase. To understand the extent of your warranty coverage, refer to the warranty documentation included with your saw at the time of purchase or visit the Craftsman website.
The warranty typically covers repairs or replacements of defective parts, but it may exclude certain components or issues arising from misuse, neglect, or unauthorized modifications. To make a warranty claim, you’ll generally need to provide proof of purchase, such as a sales receipt, and the saw’s model and serial number.
It’s crucial to register your Craftsman radial arm saw shortly after purchase to activate the warranty and ensure efficient processing of any future claims. Keep records of all maintenance and repairs performed on your saw, as these may be required when submitting a claim. Familiarize yourself with the warranty’s terms and conditions to understand your rights and responsibilities as a Craftsman owner. Proper adherence to the warranty guidelines will ensure you receive the full benefits of the coverage provided for your valuable tool.
Important Safety Rules
Operating a Craftsman radial arm saw demands strict adherence to safety protocols to mitigate the risk of severe injuries. Always wear appropriate personal protective equipment (PPE), including safety glasses or a face shield, hearing protection, and a dust mask, to safeguard against flying debris, loud noises, and airborne particles. Before each use, thoroughly inspect the saw for any signs of damage or wear, and ensure all safety guards and devices are in place and functioning correctly;
Never operate the saw if you are fatigued or under the influence of drugs or alcohol. Keep your work area clean and well-lit to prevent accidents. Maintain a safe distance from the blade while it’s in motion, and never reach over or around the saw. Securely clamp your workpiece to prevent movement during cutting, and always use the correct blade for the material being cut.
Be aware of the potential for kickback, a hazardous situation where the workpiece is violently thrown back towards the operator. Avoid making cuts that could cause the blade to bind or pinch, and always feed the material into the blade at a controlled pace. Disconnect the power cord before making any adjustments or performing maintenance on the saw. By diligently following these safety rules, you can significantly reduce the risk of accidents and ensure a safe working environment.
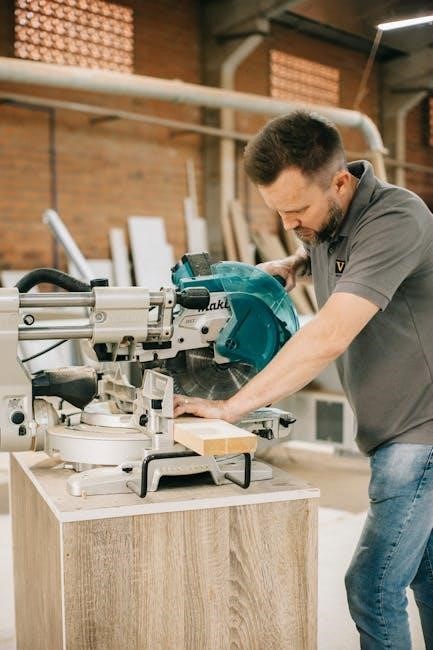
Assembly Instructions
The assembly of your Craftsman radial arm saw requires careful attention to detail and adherence to the following steps. Begin by unpacking all components and verifying that all listed parts are present. Consult the parts list in this manual to ensure nothing is missing. Start with the base assembly, securely attaching the legs or stand according to the provided diagrams. Ensure the base is stable and level before proceeding.
Next, carefully mount the radial arm to the base, following the specific instructions for your model. Pay close attention to the orientation and alignment of the arm, as this will affect the saw’s accuracy. Secure all bolts and fasteners tightly, using the appropriate wrenches and sockets. Attach the motor and saw head to the radial arm, ensuring proper alignment and secure mounting.
Install the saw blade, following the instructions for blade direction and tightening torque. Connect the dust collection system, if applicable, to minimize dust and debris. Finally, install all safety guards and shields, ensuring they are properly positioned and securely fastened. Before operating the saw, double-check all connections and adjustments to ensure everything is properly assembled and aligned. Refer to the diagrams in this manual for visual guidance throughout the assembly process. If you encounter any difficulties, consult a qualified technician for assistance.
Aligning the Saw
Proper alignment of your Craftsman radial arm saw is crucial for achieving accurate and safe cuts. Begin by ensuring the saw is mounted on a stable and level surface. Check the squareness of the fence to the saw blade using a precision square. Adjust the fence as needed until it is perfectly perpendicular to the blade. Next, verify the alignment of the radial arm to the table. The arm should move smoothly and without binding, and it should be parallel to the table surface.
Adjust the arm’s alignment using the adjustment screws or bolts provided, consulting the diagrams in this manual for specific locations. Check the blade’s perpendicularity to the table in both the vertical and horizontal planes. Use a combination square to measure the angle between the blade and the table, and adjust the bevel and miter settings as necessary to achieve perfect squareness. Ensure the blade is parallel to the fence when set at 0 degrees miter.
Finally, test the alignment by making several test cuts on scrap wood. Measure the cuts with a precision square and adjust the saw as needed until the cuts are perfectly square and accurate. Periodically recheck the alignment to maintain optimal performance. Proper alignment will improve the quality of your work and extend the life of your saw.
Lubrication and Maintenance
Regular lubrication and maintenance are essential for extending the life and ensuring the optimal performance of your Craftsman radial arm saw. Before performing any maintenance, always disconnect the power cord to prevent accidental start-up. Clean the saw regularly with a soft brush or cloth to remove sawdust and debris. Pay particular attention to the motor, track, and moving parts.
Lubricate the radial arm tracks and rollers with a light machine oil or silicone lubricant. Apply the lubricant sparingly and wipe off any excess. Avoid using heavy grease, as it can attract dust and debris. Check the condition of the motor brushes periodically and replace them if they are worn or damaged. Inspect the power cord for any signs of damage and replace it if necessary. Ensure that all bolts and screws are tightened securely.
The saw blade should be sharpened or replaced as needed. A dull blade can cause the motor to overheat and produce poor-quality cuts. Check the blade’s alignment and tension regularly, following the instructions in this manual. Store the saw in a dry and clean environment to prevent rust and corrosion. By following these lubrication and maintenance procedures, you can keep your Craftsman radial arm saw in top condition for years to come.
Adjustments
Precise adjustments are critical for achieving accurate cuts with your Craftsman radial arm saw. Before making any adjustments, ensure the saw is disconnected from the power source. Begin by verifying the arm’s perpendicularity to the fence. Use a reliable square to check the angle and adjust the stops until the arm is perfectly square; Next, examine the blade’s alignment with the table. If the blade is not parallel to the table, loosen the appropriate bolts and realign it carefully.
Check the miter angle settings for accuracy. Use a protractor or angle gauge to verify the angles and adjust the miter stops as needed. Inspect the bevel angle settings and ensure they are accurate. Loosen the bevel lock and adjust the angle to the desired setting. Tighten the lock securely before making any cuts. Adjust the travel of the saw carriage to prevent the blade from cutting into the table or fence.
Fine-tune the anti-kickback pawls to ensure they engage properly and prevent kickback during operation. Regularly inspect all adjustment mechanisms and ensure they are functioning smoothly. Periodically re-check all adjustments to maintain accuracy over time. With properly calibrated adjustments, your Craftsman radial arm saw will deliver consistent and precise results.
Operating Instructions
Before operating your Craftsman radial arm saw, always wear appropriate safety gear, including eye protection and hearing protection. Ensure the workpiece is securely clamped or held against the fence to prevent movement during cutting. Never attempt to cut freehand. Familiarize yourself with the saw’s controls, including the power switch, carriage lock, and miter and bevel adjustments. Make sure the blade is sharp and properly installed.
To begin a cut, position the workpiece against the fence and under the blade. Turn on the saw and allow the blade to reach full speed before engaging the workpiece. Slowly and steadily pull the saw carriage forward to make the cut, maintaining a consistent speed. Avoid forcing the saw or making excessively deep cuts. After completing the cut, release the power switch and allow the blade to come to a complete stop before removing the workpiece.
For miter cuts, adjust the miter angle to the desired setting and secure the miter lock. For bevel cuts, adjust the bevel angle and tighten the bevel lock. Always double-check all settings before making any cuts. When ripping, use appropriate push sticks and feather boards to maintain control of the workpiece and prevent kickback. Never reach over or behind the saw blade while it is in operation.
Troubleshooting
If your Craftsman radial arm saw is experiencing issues, begin by checking the power source and ensuring the saw is properly plugged in. A common problem is the saw not starting, which could indicate a tripped circuit breaker or a faulty power switch. Inspect the switch for damage and reset the breaker if necessary. If the blade is not cutting smoothly, it may be dull or damaged. Replace the blade with a sharp, new one.
Vibration during operation can be caused by a loose blade or misaligned components. Tighten all bolts and screws, and realign the saw according to the alignment instructions in this manual. If the saw is not cutting square, check the miter and bevel settings and adjust accordingly. Ensure the fence is properly aligned with the blade.
Kickback, a dangerous occurrence, can be caused by improper cutting techniques or a dull blade. Always use sharp blades, feed the workpiece slowly and steadily, and avoid forcing the saw. If the motor overheats, stop using the saw and allow it to cool down. Check for obstructions in the motor vents and ensure proper ventilation. If problems persist, consult a qualified repair technician. Remember to always disconnect the power before performing any troubleshooting steps.
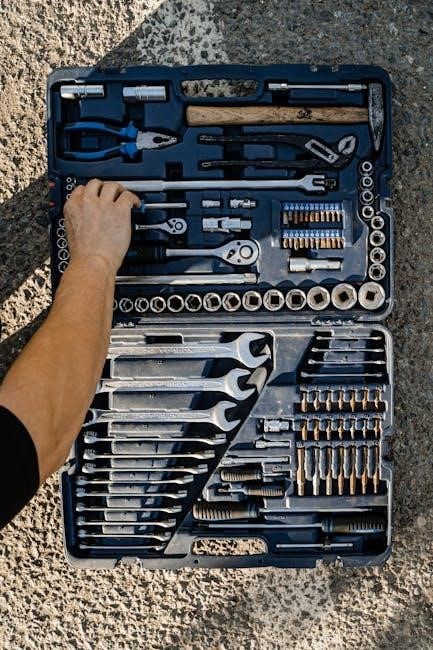
Available Parts and Diagrams
Maintaining your Craftsman radial arm saw requires access to the correct replacement parts and detailed diagrams for proper assembly and repair. This section provides information on how to locate and order the necessary components to keep your saw in optimal working condition. Exploded diagrams are included to illustrate the assembly of various parts, such as the motor, arm, table, and blade guard. Each part is labeled with a corresponding number, which can be used to identify the part when ordering.
A comprehensive parts list, including part numbers and descriptions, is available for your specific model of Craftsman radial arm saw. You can find this list either online or through authorized Craftsman parts distributors. When ordering parts, be sure to provide the model number of your saw to ensure you receive the correct components. Common replacement parts include blades, belts, switches, bearings, and motor brushes.
Several online resources, such as Sears Parts Direct, offer parts diagrams and ordering services. These resources allow you to easily identify and purchase the parts you need to repair or maintain your saw. Consulting the diagrams will aid in understanding the construction and arrangement of the saw, facilitating accurate repairs and replacements.
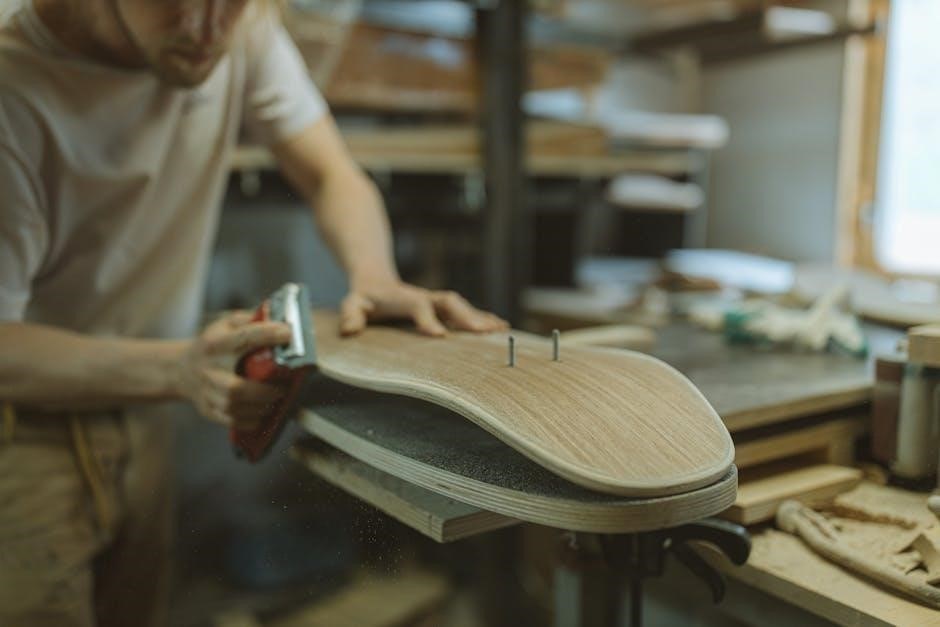
Accessories
Enhance the functionality and versatility of your Craftsman radial arm saw with a range of accessories designed to optimize performance and expand its capabilities. Selecting the right accessories can improve accuracy, safety, and the overall quality of your woodworking projects. Consult the owner’s manual for recommended accessories that are compatible with your specific model.
Various types of saw blades are available for different cutting applications, including crosscutting, ripping, and dadoing. Choose blades with the appropriate tooth configuration and material for the type of wood you are working with. Dust collection accessories, such as dust hoods and vacuum adapters, help to maintain a clean and safe work environment by minimizing airborne dust particles.
Additional accessories include molding heads for creating decorative profiles, sanding drums for smoothing edges, and various jigs and fixtures to aid in repetitive or specialized cuts. Consider investing in a laser guide to improve cutting accuracy and visibility; Always ensure that any accessory used is securely attached and properly adjusted before operating the saw. The use of improper accessories may cause hazards. Prioritize safety and consult the manual for proper installation and usage instructions.
Be First to Comment